All plastic injection molded parts have a surface texture created by the tools that made them. To get the surface finish and texture that you want, it’s important for you to understand how we make and measure such finishes in our inspection department. At Michigan CNC Machining Parts, Inc., we follow the finishing standards created by the Plastics Industry Association (formerly SPI).
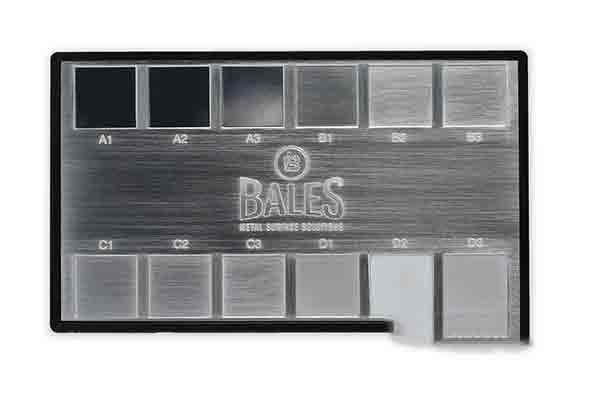
Standard PIA comparators. These are still commonly referred to as the SPI system.
What is The Plastics Industry Association?
The Plastics Industry Association (PIA) is an independent trade organization, educational resource and regulatory body based in the United States. They’ve created standards for surface finishes on injection molding tools. These are used to measure the typical kinds of finishes that can be applied to mold tools and the parts made from those tools.
What Are the Surface Finish Categories?
In the PIA classification system there are four major grades: A, B, C and D. Group A finishes are made with diamond buffing, B with grit sandpaper, C with grit sanding stones, and D with pressure blasting using glass beads or aluminum oxide grains.
How Do Different Finishes Affect Product Cost?
The higher you go in the classification system, the more time and effort it takes to produce the finish. In fact, each step of refinement requires first completing the step preceding it. There are no shortcuts here so the costs are additive. Let’s see how each finish is done.
Finishes Created by Polishing
Category A is made with diamond buffing, and is considered to be the highest standard grade, the most shiny or glossy. Part of this is due to the fine grain of the diamond buffing paste, but also some is due to the way it’s applied. A rotary tool polishes the surface in a random, non-linear pattern. This tends to scatter or reflect light without indicating a clear texture. There’s no “direction” to the waviness of the surface, so it looks the same no matter the viewing angle or the angle of light.
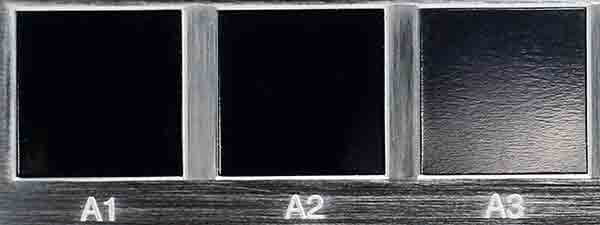
PIA A-Grade surface quality
There are 3 levels in the A category, representing different degrees of polish, and within these levels an Ra value is specified for each. As an example, A-3 corresponds to Ra 2~3. Surface flatness is a subject unto itself, but this essentially means it’s very flat.
Finishes Made By Sandpaper
Now compare this to Category B, made with sandpaper. This kind of surface finish is applied in a back and forth motion, so it leaves behind characteristic linear scratches producing a very obvious pattern. It’s possible to have an SPI surface finish for B-1 which also measures a flatness of Ra 2~3. But this finish doesn’t look the same as A3, nor would the part made from such a tool.
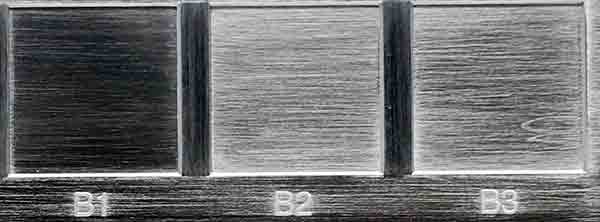
PIA B-Grade surface finish
A B-grade finish is considered semi-gloss. It’s fine enough to hide mold defects, tooling and machining marks while being less expensive to produce than A-Grade. These finishes are applied with sanding grit ranging from 600 grit for B-1, 400 for B-2 and 320 grit for B-3.
Finishes Made with Grit Stone
The C-Grade finishes are made with grit sanding stones. As with B-grade finishes the grits of the stones also range from 600 to 320, though they leave behind a surface that is rougher and less flat because the stones are more aggressive in their cutting action. Such a process is used to quickly erase tooling and mold marks and will leave behind a matte finish on plastic parts.
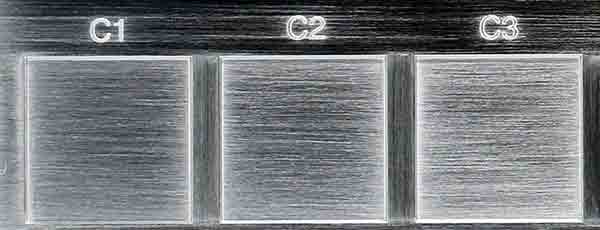
Grade-C surface finish comparators
Finishes Made By Blasting
Rougher finishes are made by abrasive blasting with sand or glass beads. These correspond to SPI class D. Because of the random nature of the spraying, the resulting finish is uniform and non-directional. This classification is used to produce dull or flat finishes.
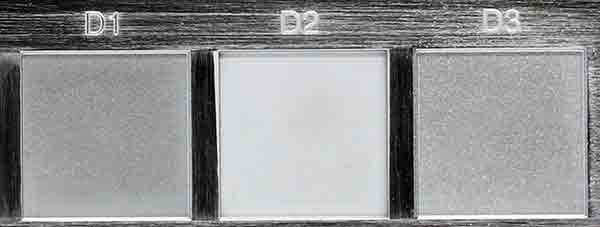
D-Grade surface finish comparators for plastic injection molding
Finishes Made with EDM
In addition to these, there are similar results that can be produced using electronic discharge machining (EDM) or spark erosion. We use both approaches depending on the features and the type of metal being processed. Both processes are measured according to the PIA standards.
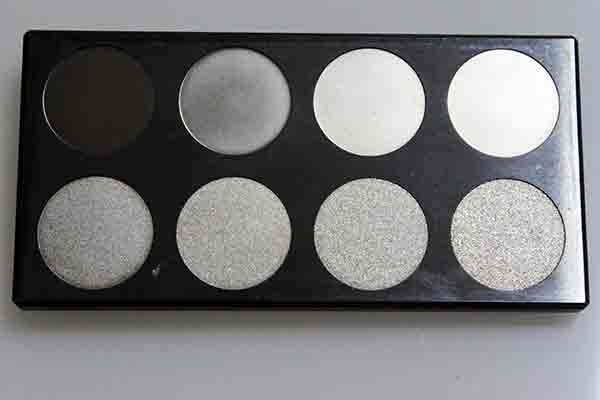
EDM surface finish comparators for plastic injection mold tools.
The top row of 4 examples roughly corresponds to A3-B4 in flatness and finish, although you can see they are all uniform and without direction. We do not measure the flatness of the bottom row, since these are rough enough to potentially damage the very sensitive testing equipment.
How To Express the Shine of Your Part with Gloss
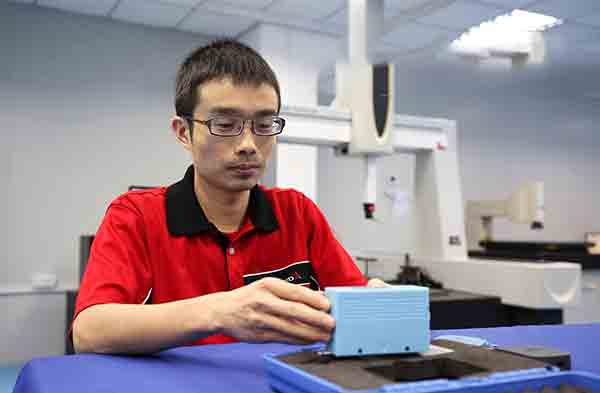
Michigan CNC Machining Parts, Inc. technician calibrating the gloss meter prior to checking a part.
Surface finishes can look different even if the Ra values are similar. To further specify the look you want you should know about gloss. Gloss is defined as the reflectance of a surface compared to a polished black glass standard.
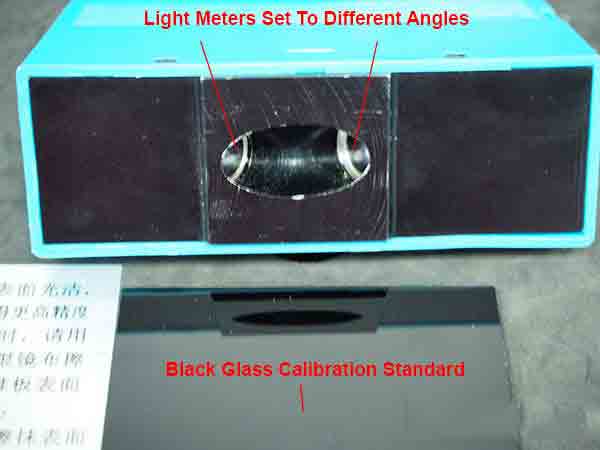
Gloss meter for measuring surface shine on plastic injection molded parts.
We use a simple measuring device called a gloss meter. It bounces a light off the surface of a sample, at different angles depending on the Ra value being tested. The measurement values are called gloss units or GU. The black glass standard is rated as 100, so measured gloss units from a target part are compared to this reading.
From these gloss readings it’s then possible to describe a surface as high-gloss, semi-gloss, matte or flat. Taken together with a PIA mold surface number, this is the information that we need to texture your mold tools so you get the finished parts that you want.
Are you ready to make your prototype or part?
The above information is for standard finishes. But if you have a special requirement you can specify your custom needs when you upload your CAD drawings for a free quote.
Chris Williams is the Content Editor at Michigan CNC Machining Parts, Inc.. He is passionate about writing and about developments in science, manufacturing and related technologies. He is also a certified English grammar snob.

