At Michigan CNC Machining Parts, Inc., our QC inspection and measurement department is always upgrading to the latest equipment to provide you with the best quality assurance for peace of mind. Here’s how our new Zeiss Comet LED3 2 optical scanner works and how it ensures the accuracy of the parts we make for you.
What Is An Optical 3D Scanner?
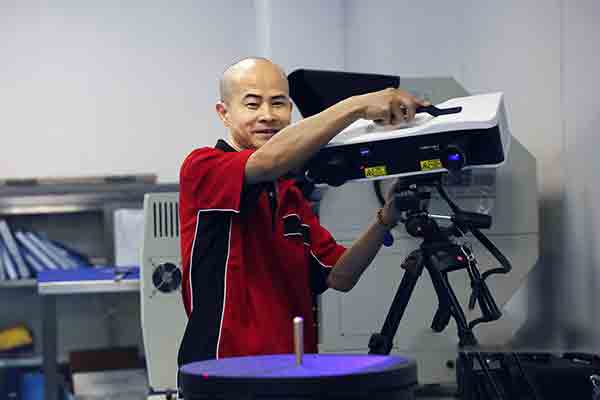
The Zeiss LED3 2 works by using a strong blue LED light source coupled with a separate Zeiss lens. The LED shines a pattern onto the surface of the target object and this is reflected back to the lens. Any deviation from the original pattern is recorded by the sensor in the lens, one pixel at a time. This data is recorded, and the position of each pixel is determined by using triangulation from the light source. Such a system is called fringe projection, and it’s capable of very fast 3D scanning.
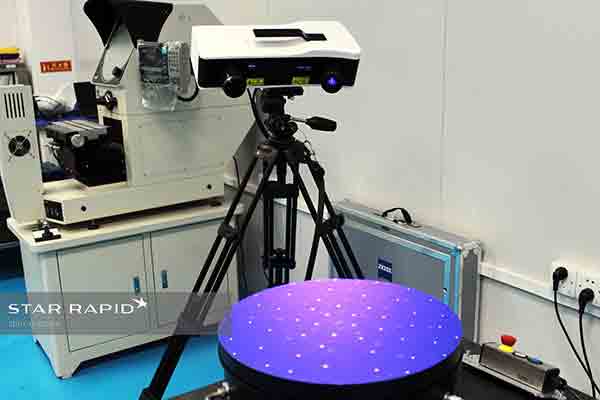
The rotating turntable is coupled to the scanner for fast, efficient measurements.
How Is The Data Used?
The Zeiss Comet is able to record up to 5 million individual data points per second. These point are fed into colin3D software which creates a ‘point cloud”, and from this cloud a complete 3D CAD model of the part can be easily reconstructed. By comparing this CAD file to the one provided by the customer it’s possible to locate any discrepancies quickly. This kind of feedback is essential when making rapid prototypes and quick turnaround production.
What Else Can It Do?
The Zeiss Comet LED3 2 is very compact so it can be used even in a busy shop like ours with lots of equipment. The LED is not bothered by less than ideal ambient lighting conditions, while both the LED light source and lens can be swapped out to account for longer focal lengths and wider fields of view needed on larger pieces. The Zeiss is coupled with an automatic rotating turntable for 360 degree measurements and it can be quickly calibrated and operated with minimal training time.
Complex curvatures like these can be difficult to measure conventionally.
Reverse Engineering
It’s also possible to take a completely manufactured part or complex assembly and reverse engineer it by “deconstructing” individual segments via the graphical software interface. For you, this means that we can test how a single part will fit into a larger assembly of many parts, even when those parts may exist remotely back at your home office or some other facility. This makes it much easier for modern supply chain management using multiple manufacturing partners who are responsible for one piece of a larger puzzle. We can share this data with you in real time via the internet.
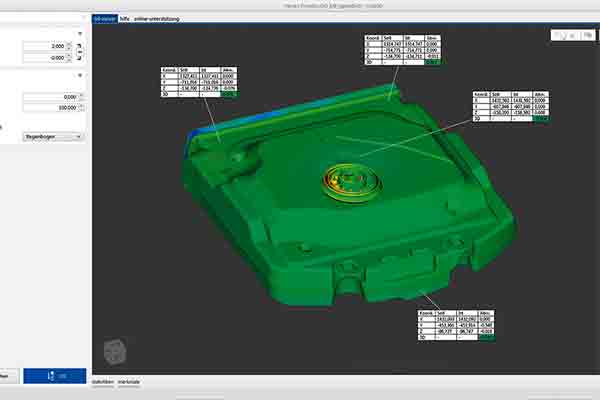
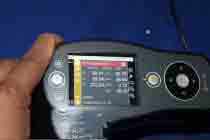
Colin3D software makes measurements easy.
Got a project that needs next-level precision and speed in measurement? The Zeiss Comet LED3 2 joins our ever-growing complement of world-class test and measurement equipment that we use to verify raw materials and finished parts. It’s this level of commitment and professionalism that sets us apart from the rest, and it’s what you can expect when you upload your 3D CAD files for a free quote.
Chris Williams is the Content Editor at Michigan CNC Machining Parts, Inc.. He is passionate about writing and about developments in science, manufacturing and related technologies. He is also a certified English grammar snob.

