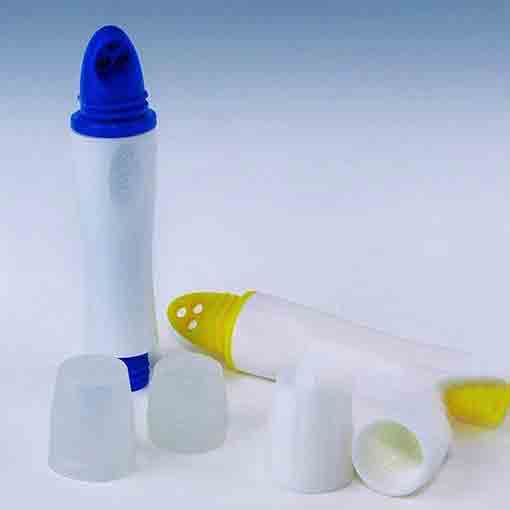
DCA Design And Dr. Scholl’s Foot Care Products Case Study
Project Specification:
Customer: DCA Design / Dr. Scholls
Project: Prototype foot care product
Project Name: “Scholl Hard Skin Removal System”
Processes: Tooling (CNC and wire EDM machining), Plastic Injection Molding
Tool Material: NAK 80 steel
Plastic Material: Chimei ABS 757 plastic
Lead Time: 4 weeks (tooling & samples)
Project Details:
DCA Design is one of the UK’s most famous and successful independent design firms, specializing in consumer product design, prototyping, packaging and design engineering.
Clive Southernwood of DCA contacted us with a project for making a low-volume run of production quality parts for a new line of Dr. Scholls® foot care products.
DCA required a finished prototype that shared the same quality look and feel as other Dr. Scholl’s® products already on the market. It would have an easy grip plastic handle debossed with the Dr. Scholl’s® trademark name, in pure gloss white. They wanted to experiment with different colors for the threaded core of the handle and for the removable end caps.
Making The Tooling
After reviewing all of the 3D CAD drawing files and ensuring manufacturability of the design, we recommended to DCA that we make three separate mold tools from NAK-80 semi-hardened tool steel.
We like NAK-80 because it’s a strong and readily available tool steel that can withstand many thousands of injection cycles. It’s not easily damaged by abrasive engineering thermoplastic like ABS, and we can finish it to a high polish, leaving the glossy surface on the handle that DCA needed.
We made one core and cavity tooling for the central shaft, which would be injection molded with colored ABS. This required threads at both ends, so the best way to do that is with an EDM (electrical discharge machining) electrode that we also made in-house for this project.
Are you working on a similar project? Send us your CAD file and we can give you a free project review and quote.
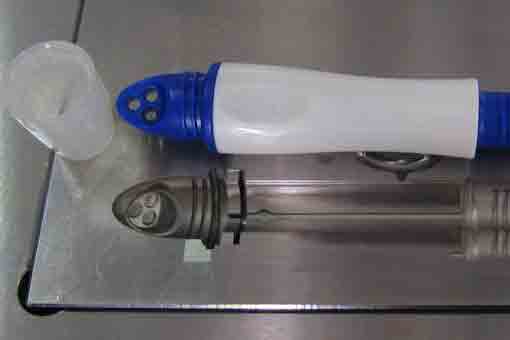
Two additional molds were made for the end caps and the outer white handle. These would be both injected from PP (polypropylene) 5090T.
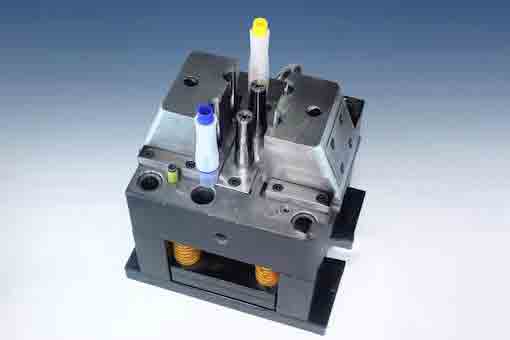
Another tool with two cavities was made for the PP handle. The important consideration here was to hand and machine polish the cavity so the finished plastic would have a glossy white surface texture. This piece would then be hand assembled over the colored section to make a one-piece unit.
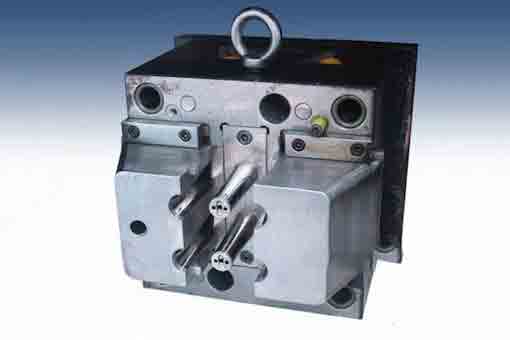
We also used hydraulic sliders on this mold tool to aid in the separation of core and cavity due to the length of this piece.
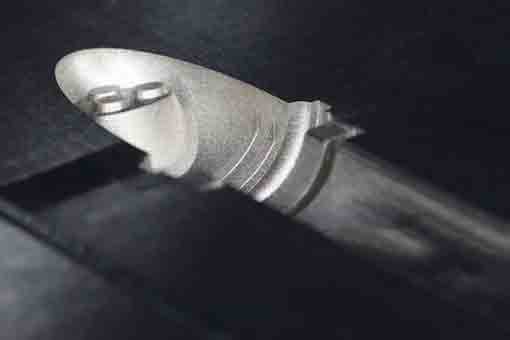
Notice that we didn’t need to use too much time or expense in highly finishing the cavity of this mold, because it will later be covered by the outer handle.

