Two-way Voice Chat for Kids from Okio
Services
Processes: SLA 3D Printing, CNC Machining, Vacuum Casting, Painting, Other Finishing Services
Materials:
Master Patterns: Somos 14120 (nylon)
Vacuum Casting Molds: Silicone Polyurethane
Cast Parts: UBS 4280 (ABS), UPX 8400 (Rubber), PMMA Acrylic
Lead Time: 9 days
Order Volume: 3 sets, different colors
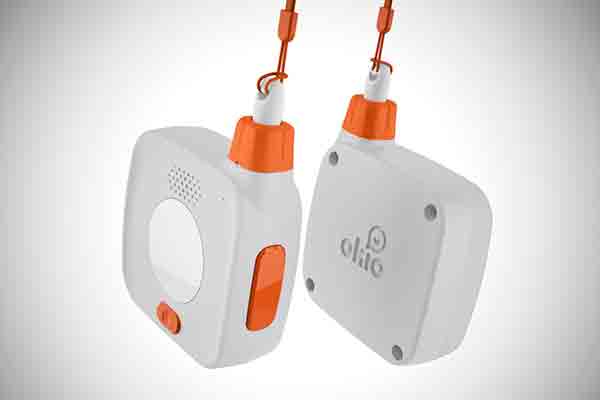
The Product Developers
The Okie-talkie was created by Pia and Javier, two parents who share a passion for letting children grow up without the constant distraction of smartphones.
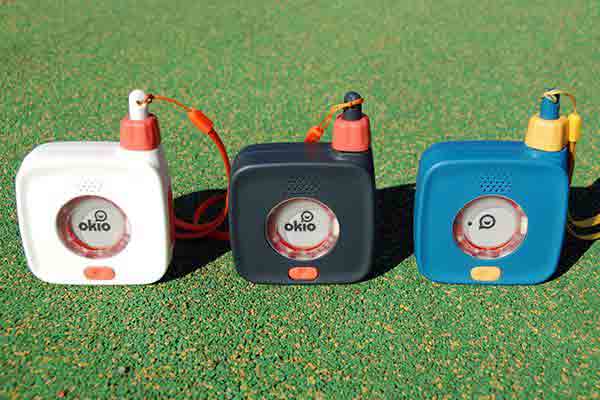
Okie-talkie in a variety of colors.
The Product Designers
Okio worked closely with DMO Design Company, specialists at creating innovative product solutions tailored to their client’s unique vision. DMO works in health care, consumer products, industrial applications and more, to create product solutions, branding, and implementation. They drafted a series of concept sketches to help refine how the product should look, feel and function.
Part of the design brief was to make the Okie-talkie a true wearable that kids can take with them on their daily activities.
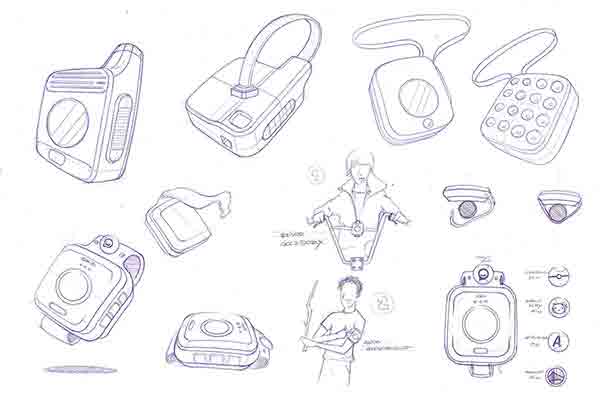
Design ideas are worked out long before the first prototype is made.
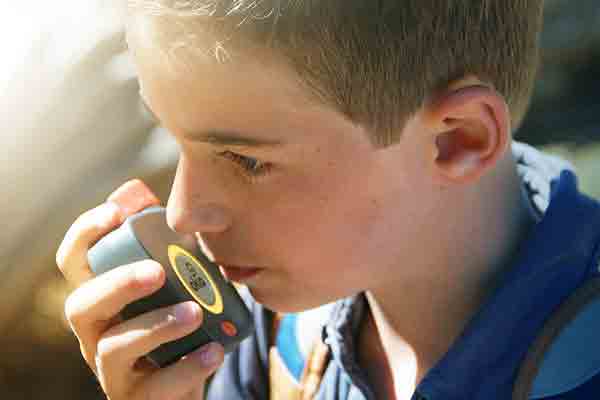
The Okie-talkie is intuitively easy to use.
The Project
The Okie-talkie team contacted us to support them in creating a quality set of rapid prototypes for housing the electronics of the Okie-talkie. The prototypes needed to have a “production quality” look and they also needed to be made quickly, in low volumes yet at an attractive price. For this kind of rapid prototype, vacuum casting is the ideal manufacturing process.
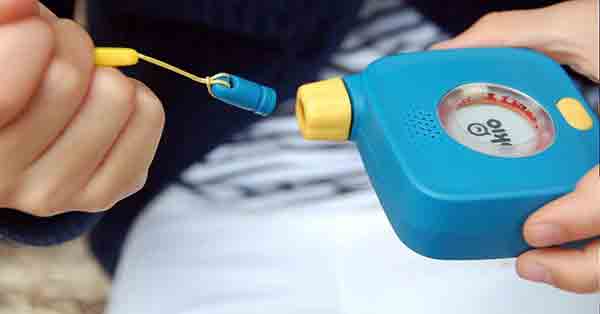
Rapid Prototype of the Okie-talkie.
Making The Master Patterns
To get the project started we needed to first make the master patterns. Vacuum casting involves making a silicone mold from a master pattern, and using that mold we can then cast multiple copies in a variety of materials.
Patterns can be made using almost any method to make a solid form, but to make a single pattern quickly we chose to 3D print it using stereolithography (SLA). SLA 3D printing is fast, requires no investment in hard tooling or fancy set-ups, and can make a solid part of reasonably good quality in plastic -ideal for vacuum casting.
SLA is a 3D printing method in which a liquid polymer is formed into a solid in sequential layers after being exposed to UV light. The polymer we used for this project was Somos 14120, a photosetting resin with mechanical properties similar to nylon.

Designed to be part of a child’s daily adventures.
Inspection And Measurement
Once we printed the patterns our inspection department carefully measured all dimensions. It’s important that we confirm that the pattern is just right, since it will be faithfully duplicated in any subsequent cast copies.
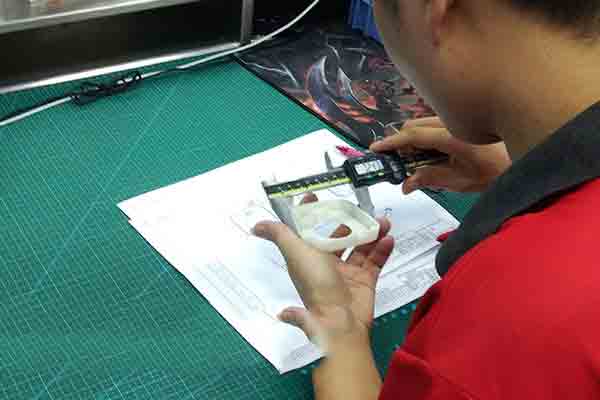
Checking dimensions of the master pattern against the customer’s drawings.
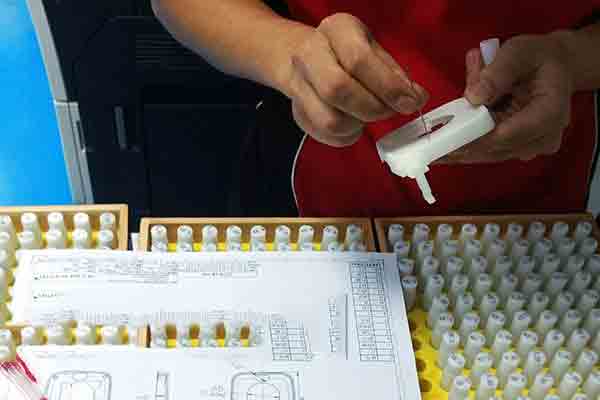
Pin gauges are used for accurate measurements of the holes in the speaker grills.
Painting
Next we sealed the surface with high quality automotive polyurethane paint. Our goal was to achieve a matte surface finish on the pattern. This kind of surface texturing is common in plastic injection mold tools for high-volume production, but doing it by hand for a single piece takes real craftsmanship. The surface texture will be duplicated in the casting process so attention to detail is critical here.
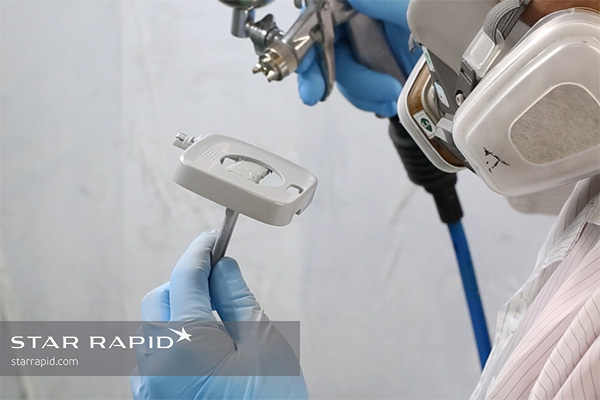
Spraying a coat of primer before painting seals the surface for a better result.
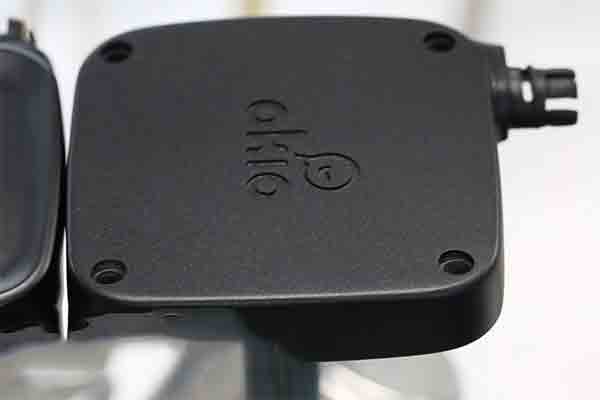
The volume of paint spray and distance from the workpiece is carefully controlled to produce a textured finish.
Making The Vacuum Casting Molds
Once the pattern was ready we made a mold casting box from aluminum plates. We suspended the pattern inside this box and filled it with liquid silicone. The master pattern was temporarily mounted to a simple plastic dowel, which not only holds the master in the right position but also makes a filler hole for subsequent casting. When full, the box went into the drying oven to cure for 24 hours.
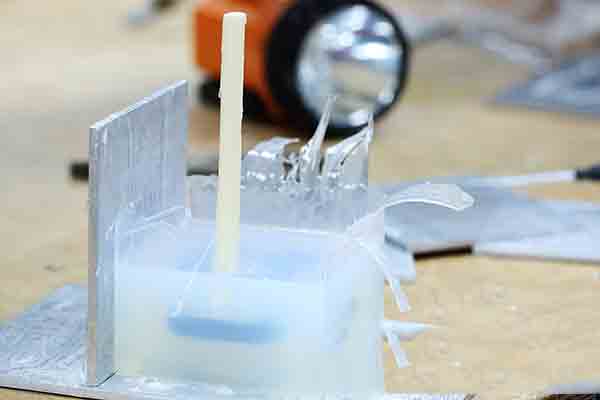
A silicone mold is good for 20 or more copies of the original.
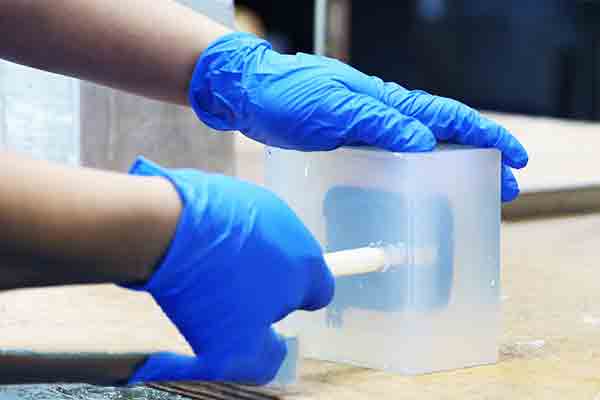
We removed the dowel after the mold was cured.
Removing The Pattern
After curing, we carefully cut the mold open and removed the pattern. Notice that there is a wavy pattern along the cutting line. This works like a key, holding the two halves in place in the correct orientation. We now had an empty mold cavity, in the exact mirror image of the original pattern.
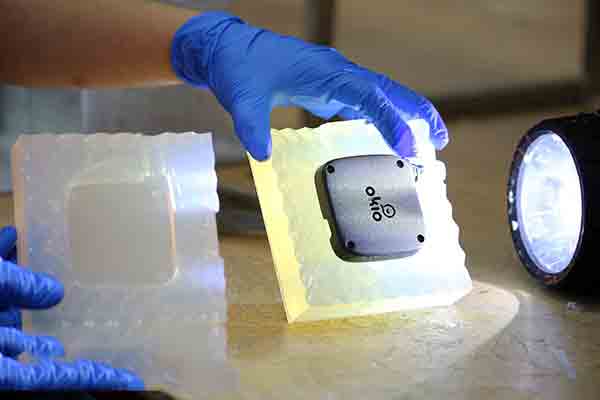
The vacuum casting mold will accurately reproduce the effects of surface texturing.
Vacuum Casting
1. Pouring The Resin
Now, to make copies from this mold, the empty mold halves were stapled and taped back together in the correct orientation. This is why it’s important to have the sawtooth key pattern between mold halves.
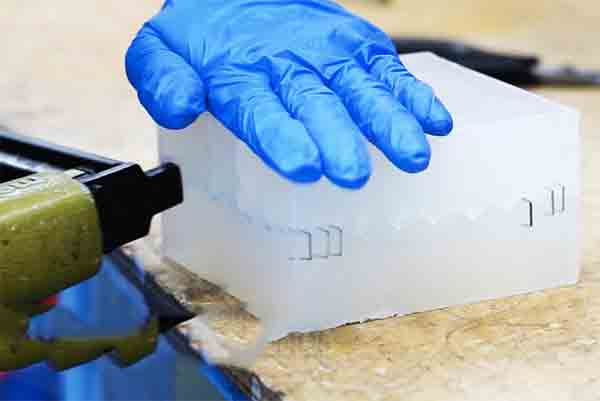
Resealing the silicone mold prior to making vacuum casted copies.
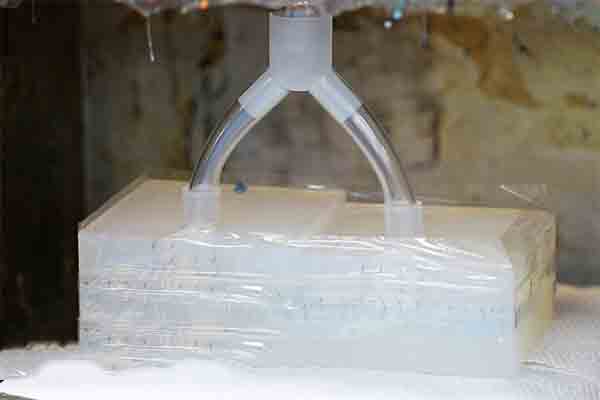
Liquid resin was pre-mixed with color pigments before being poured into the vacuum casting molds.
2. Curing The Resin
Once the cavity was filled the mold was put into a vacuum chamber / oven. In preparation for this, the technician had already created a series of small vent holes leading from the cavity to the exterior. Under vacuum pressure, any remaining trapped air in the cavity will be pulled out of these vents so that it’s completely filled only with resin.
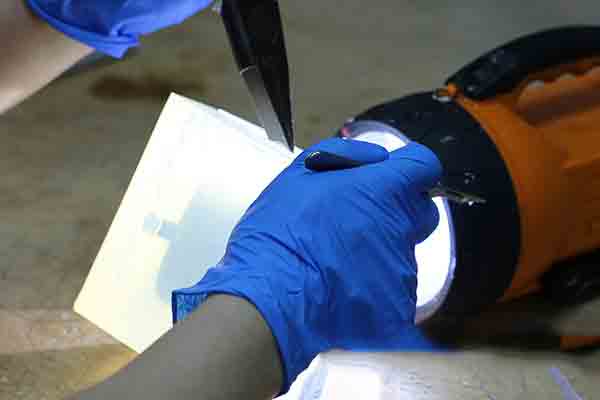
Staples were removed and the mold halves pried apart.
3. Removing The Copy
After curing, we removed the tape and staples holding the mold together. Inside, a perfect copy of the original emerged. There may be some “flash” left over, excess material that either escaped from a vent hole or squeezed out at the parting line between mold halves. It’s easy to trim off this excess and lightly touch up any rough spots if needed.
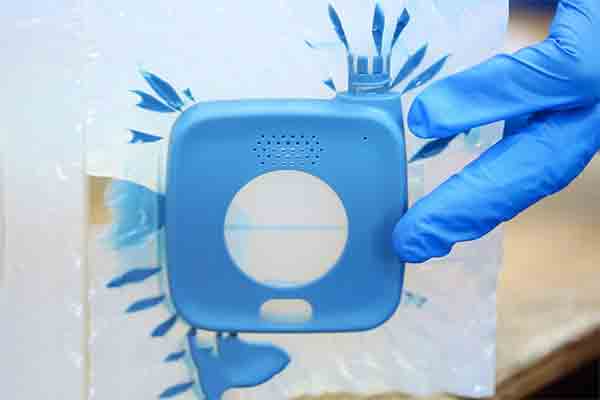
Vent holes allow vacuum pressure to remove excess air from the cavity.
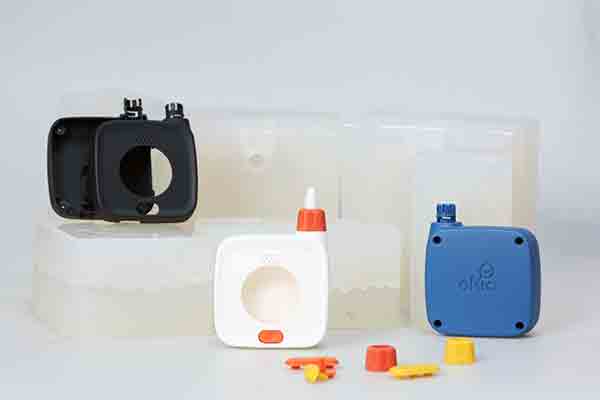
Prototype housings only need electronics to make them fully functional.

