Manufacturing high-quality prototypes and parts requires a combination of engineering, programming, machining and design skills. But as important as those skills are, they can’t compensate for having non-conforming material.
We spend a lot of time ensuring we only provide quality material that conforms to the agreed international standards. But how do we go about this given our location in China? In this article, we go behind the scenes to show you how we inspect incoming material.
Ordering the right material
Finding the right material is an art in and of itself. Each process has a range of preferred materials, whether it’s plastic injection molding, CNC machining or pressure die casting. There are several factors to take into account, such as grade and the materials ability to absorb certain surface finishes.
When a part has been ordered we source the specific material requested by the customer. To purchase these materials, we have partnerships with a series of vendors that have all been vetted and approved by our in-house Quality Control (QC) department.
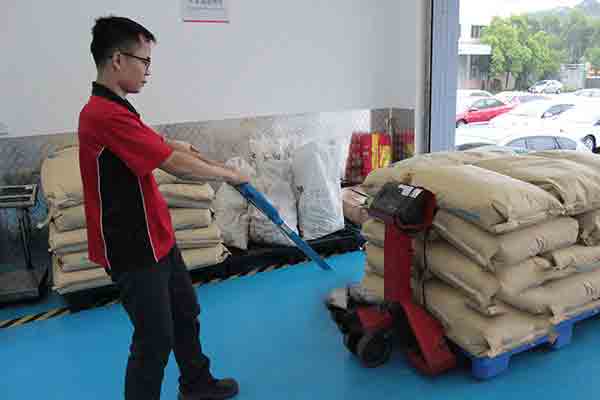
We receive a wide range of materials on a daily basis
Receiving and cataloging
Once the ordered material reaches our manufacturing facilities in China, we take inventory to make sure we received the requested amount. Each shipment of material will have a material designation and a Michigan CNC Machining Parts, Inc. Unique Identification Number (UIN), identifying what type of material it’s supposed to be. The UIN identifies the type of material, material manufacturer, lot/batch number and the date when the material was made. After that it’s brought to our storage area for untested material. It’s separated by material type (plastic, metal etc.) based on what tests we have to run in order to verify the material.
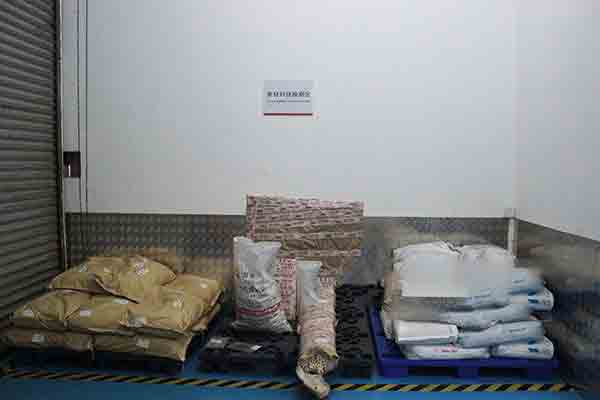
Our untested material area. All new material is stored here before testing.
Testing
We run a series of tests to verify the material before any of it is stored and later used for manufacturing. In fact, all incoming material is stored completely separate from our tested material in order to avoid any material being used before it’s been tested. Thanks to high-end testing equipment linked with international databases we can quickly identify whether the received material is up to specifications or whether it’s actually something else.
Testing Metal
With 31 CNC machines, we go through a lot of metal. In order to test metal we use a PMI Master Pro Optical Emissions Spectrometer (OES) from Oxford Instruments. With the OES it takes less than 60 seconds to find out whether the received material is in conformance.
After we purchased the machine, we received a series of calibrated test samples as calibration standards. These were used to calibrate the machine. The results from the calibration samples are stored in the machine’s database, meaning it’s easy to pull them up during the testing procedure to find out where a piece of tested material might deviate from the sample.
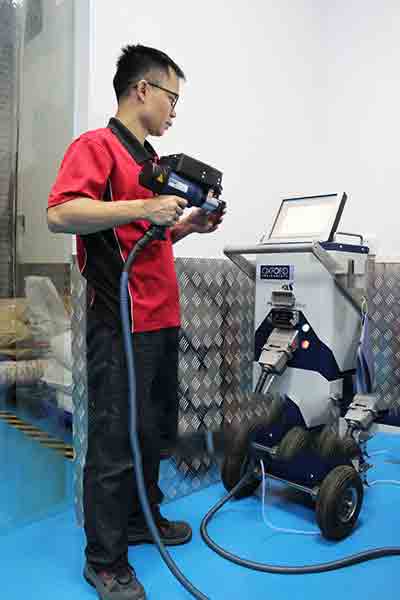
Testing with our Oxford Instruments OES
Although the most accurate test available, the OES leaves what’s known as a “spark site”. This is a small imperfection on the surface that is caused by the test. Although not an issue for large pieces of raw material, having these spark sites on finished goods is not desirable.
In order to have a non-destructive way of testing metal we also use an Oxford Instruments XMet7500 X-Ray Flourescence (XRF) gun. All elements flouresce under x-rays and this gun can detect the emitted spectra and match them with a database. It allows us to test smaller pieces of raw material upon arrival as well as test the material of finished parts.
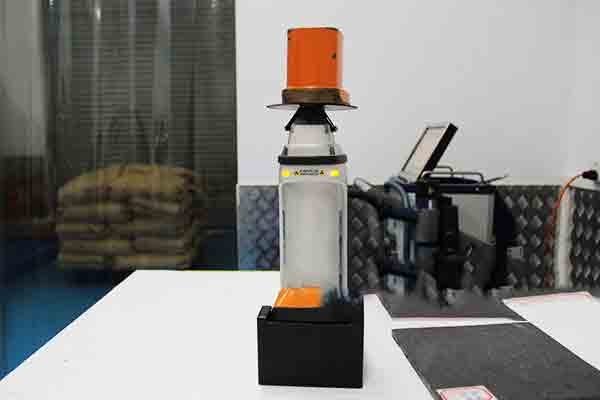
The Oxford Instruments XMet7500 X-Ray Flourescence (XRF) gun is great when testing smaller samples
Testing Plastics
Testing plastics is notoriously difficult. With different suppliers and mixes, getting an acceptable match is sometimes close to impossible with most testing methods. Because of this, we recently invested in a Bruker ALPHA Platinum ATR FTIR Spectrometer, which demonstrates our commitment to going the extra mile for positive material identification.
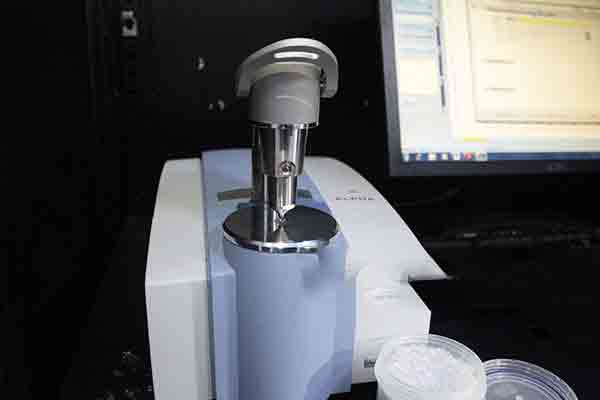
The Bruker ALPHA Platinum ATR FTIR Spectrometer is just the latest in a long line of investments into quality control.
The FTIR Spectrometer lets us compare a piece of received plastic with what’s known as a “golden sample”. We order golden samples straight from the plastics manufacturer, without any middlemen or suppliers. This guarantees the integrity of the sample and gives us an accurate reference point when testing the plastic. When using the FTIR Spectrometer, we will reject all material that is below a 97% match to the golden sample. A 100% match is usually not possible except in a clean room laboratory environment. For production purposes, 97% is the industry standard best practice for verification, and well beyond what other suppliers do.
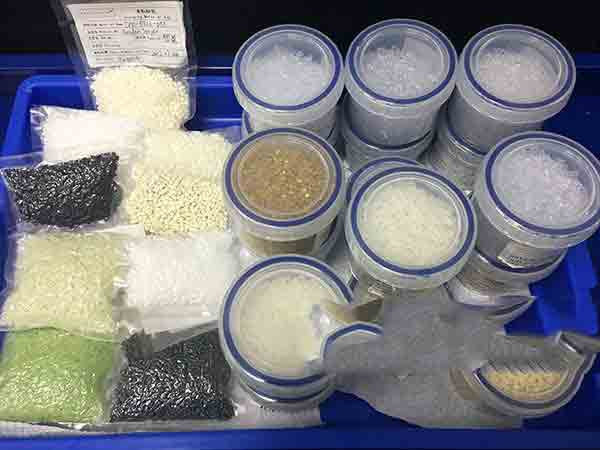
We order golden samples for all plastic pellets
On occasion we visit our suppliers to discuss available materials and find out what their current stock is like. When we do this, we bring our PolyMax gun – a portable material tester for plastics. Although not as accurate as the FTIR Spectrometer, it allows us to get an idea of what the material quality is before we order. Any material that has been tested at a supplier will later go through the same testing process as any other incoming material.
Rejected material
So what happens if the material doesn’t match what the customer has specified?
Any material that doesn’t fulfill our testing requirements will be sent straight back to the supplier. We separate this material from all other materials into our non-conforming area and notify the supplier. They will then pick up the non-conforming material. Then we will receive a new batch that will go through the testing procedure.
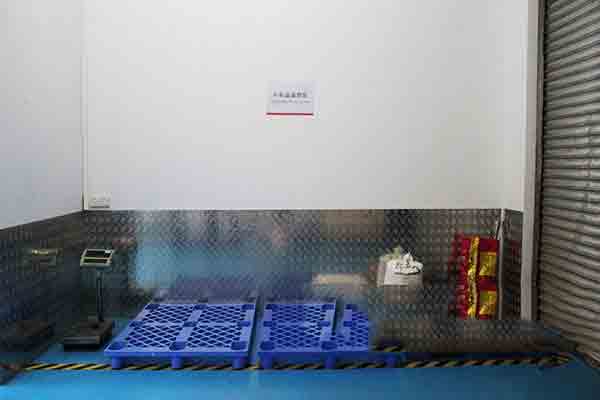
Rejected material is stored separately from all other material before it’s picked up
After Testing
Once we’ve completed all tests for incoming materials we move them over to our warehouse for storage ahead of production. We keep a limited amount of material in stock due to the ever-changing nature of rapid prototyping and low-volume manufacturing. From one week to another we can go through a whole heap of different materials. Keeping a large inventory would in the end cost our customers more money, so we prefer to order as we go along.
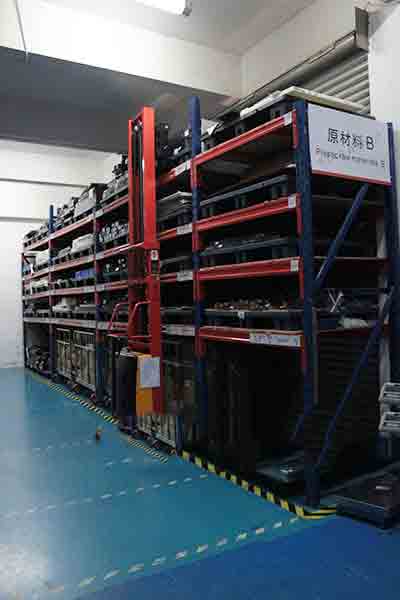
Once we’ve verified the material, it’s stored in our warehouse before going to the manufacturing floor
We invest heavily in quality control for all aspects of our business, from inspecting incoming material to continuous testing throughout the manufacturing process. We work tirelessly to provide our customers with the best available material and go above and beyond to ensure we can deliver to your specifications. So if you have any specific material needs for your upcoming project, don’t hesitate to send us a request for quote.
Chris Williams is the Content Editor at Michigan CNC Machining Parts, Inc.. He is passionate about writing and about developments in science, manufacturing and related technologies. He is also a certified English grammar snob.

